Tibco offers the opportunity to create custom BusinessWorks 6 pallets. In order to simplify the development of pallets a BW Development Kit (BWDK) is available here.
When creating a BW6 plugin, it is sometimes required to use an external jar. In order to do so, the jar must be wrapped as a bundle. This is documented here. This document contains a detailed description on how to add a jar to a BW6 plugin project.
Assumptions:
- Is is assumed the BW6 plug-in development kit is downloaded and installed. See for more information on the installation here.
- A Pallet is created and the runtime (Java code) for the implementation of the pallet is generated.
Step 1) Download the required jar
Step 2) Add the required jar to the project runtime project of the plugin.
a) Open the runtime application in designer.
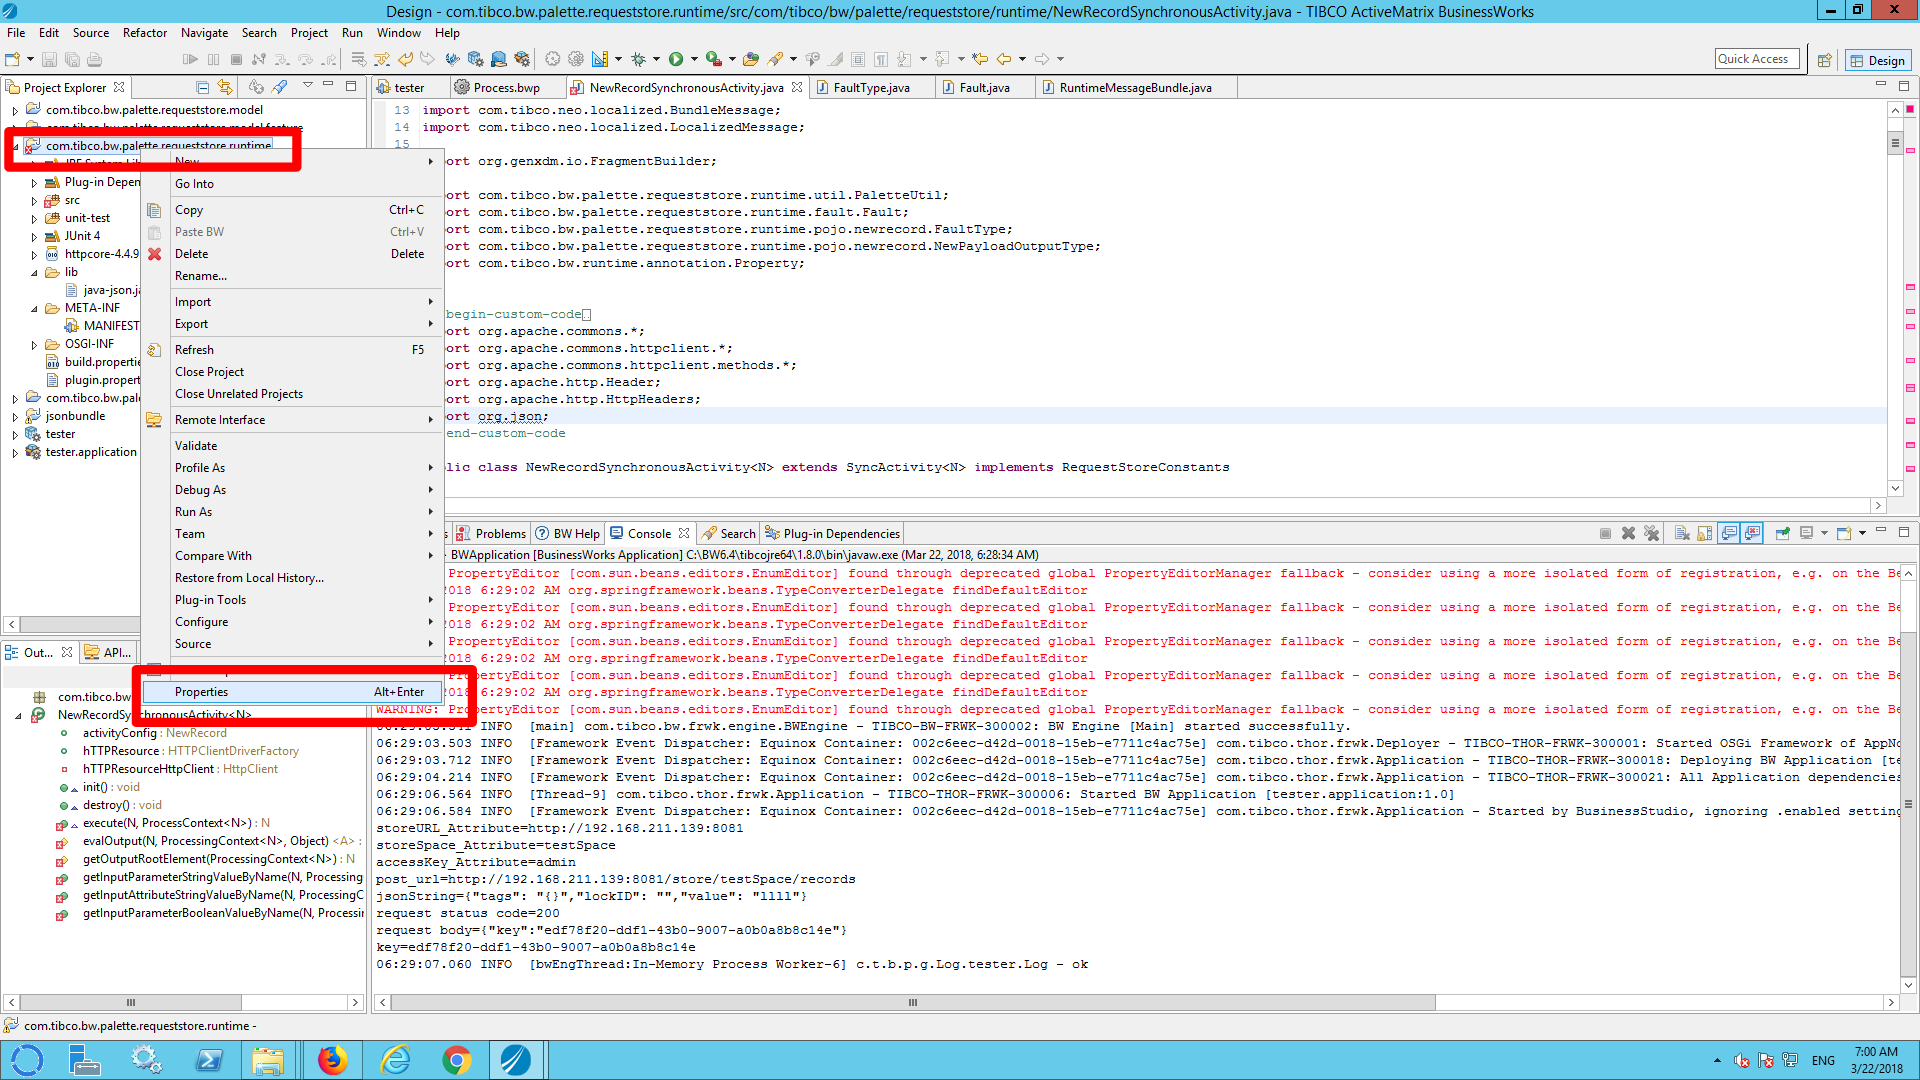
b) Right click on the project <pacakge>.palette.<activity>.runtime and click Properties
c) Select properties
d) Click Libraries and add External JARs….
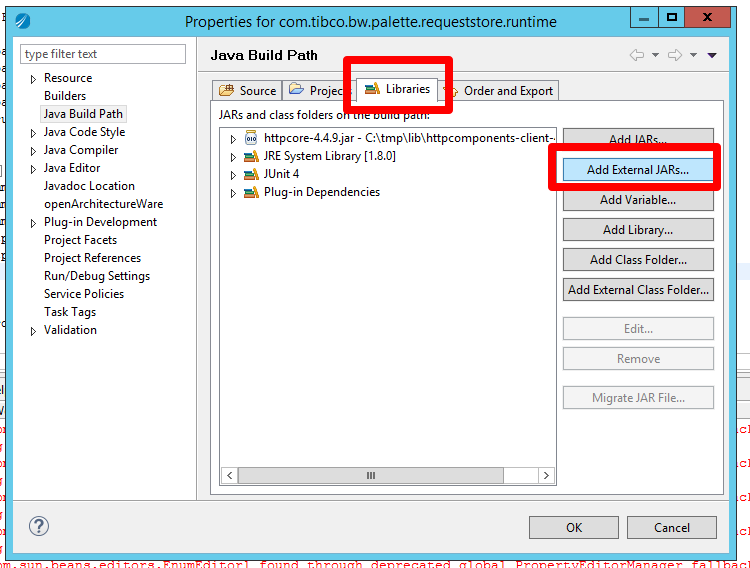
e) Select the jar to be added.
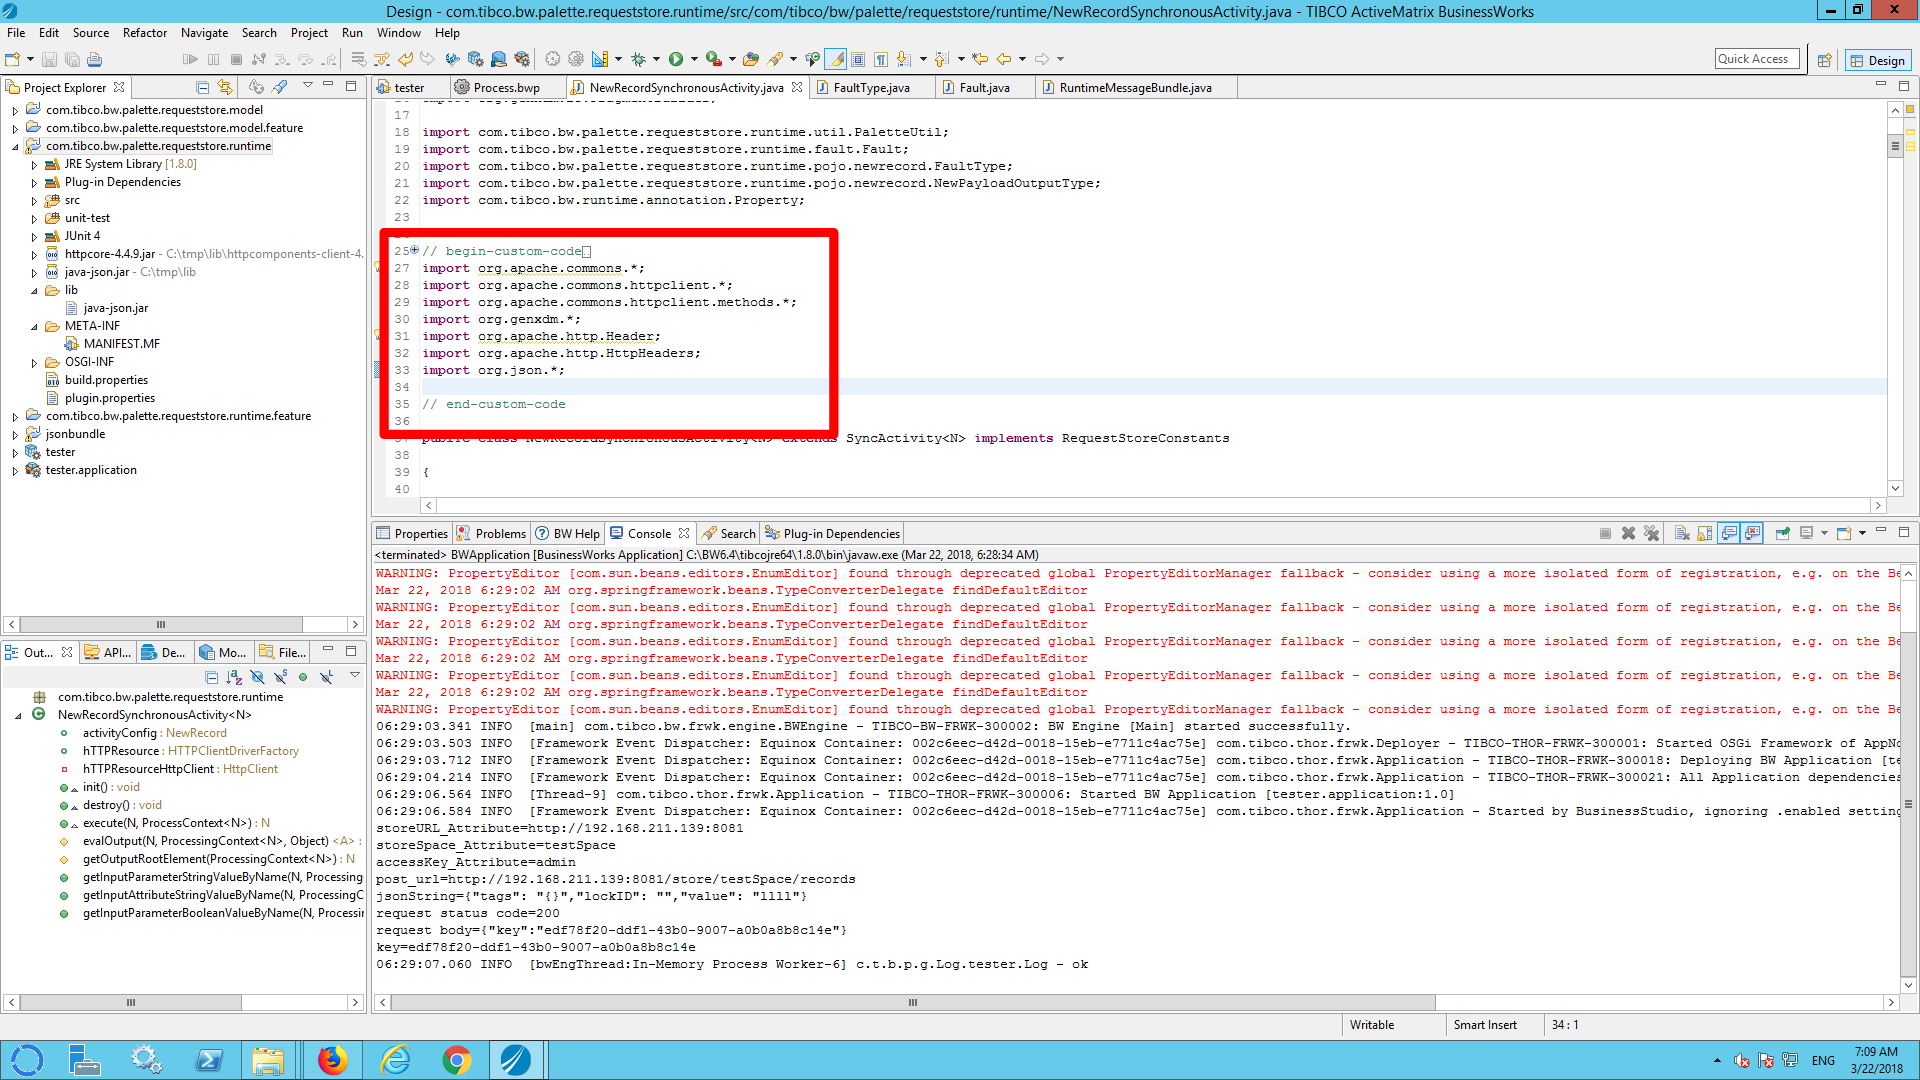
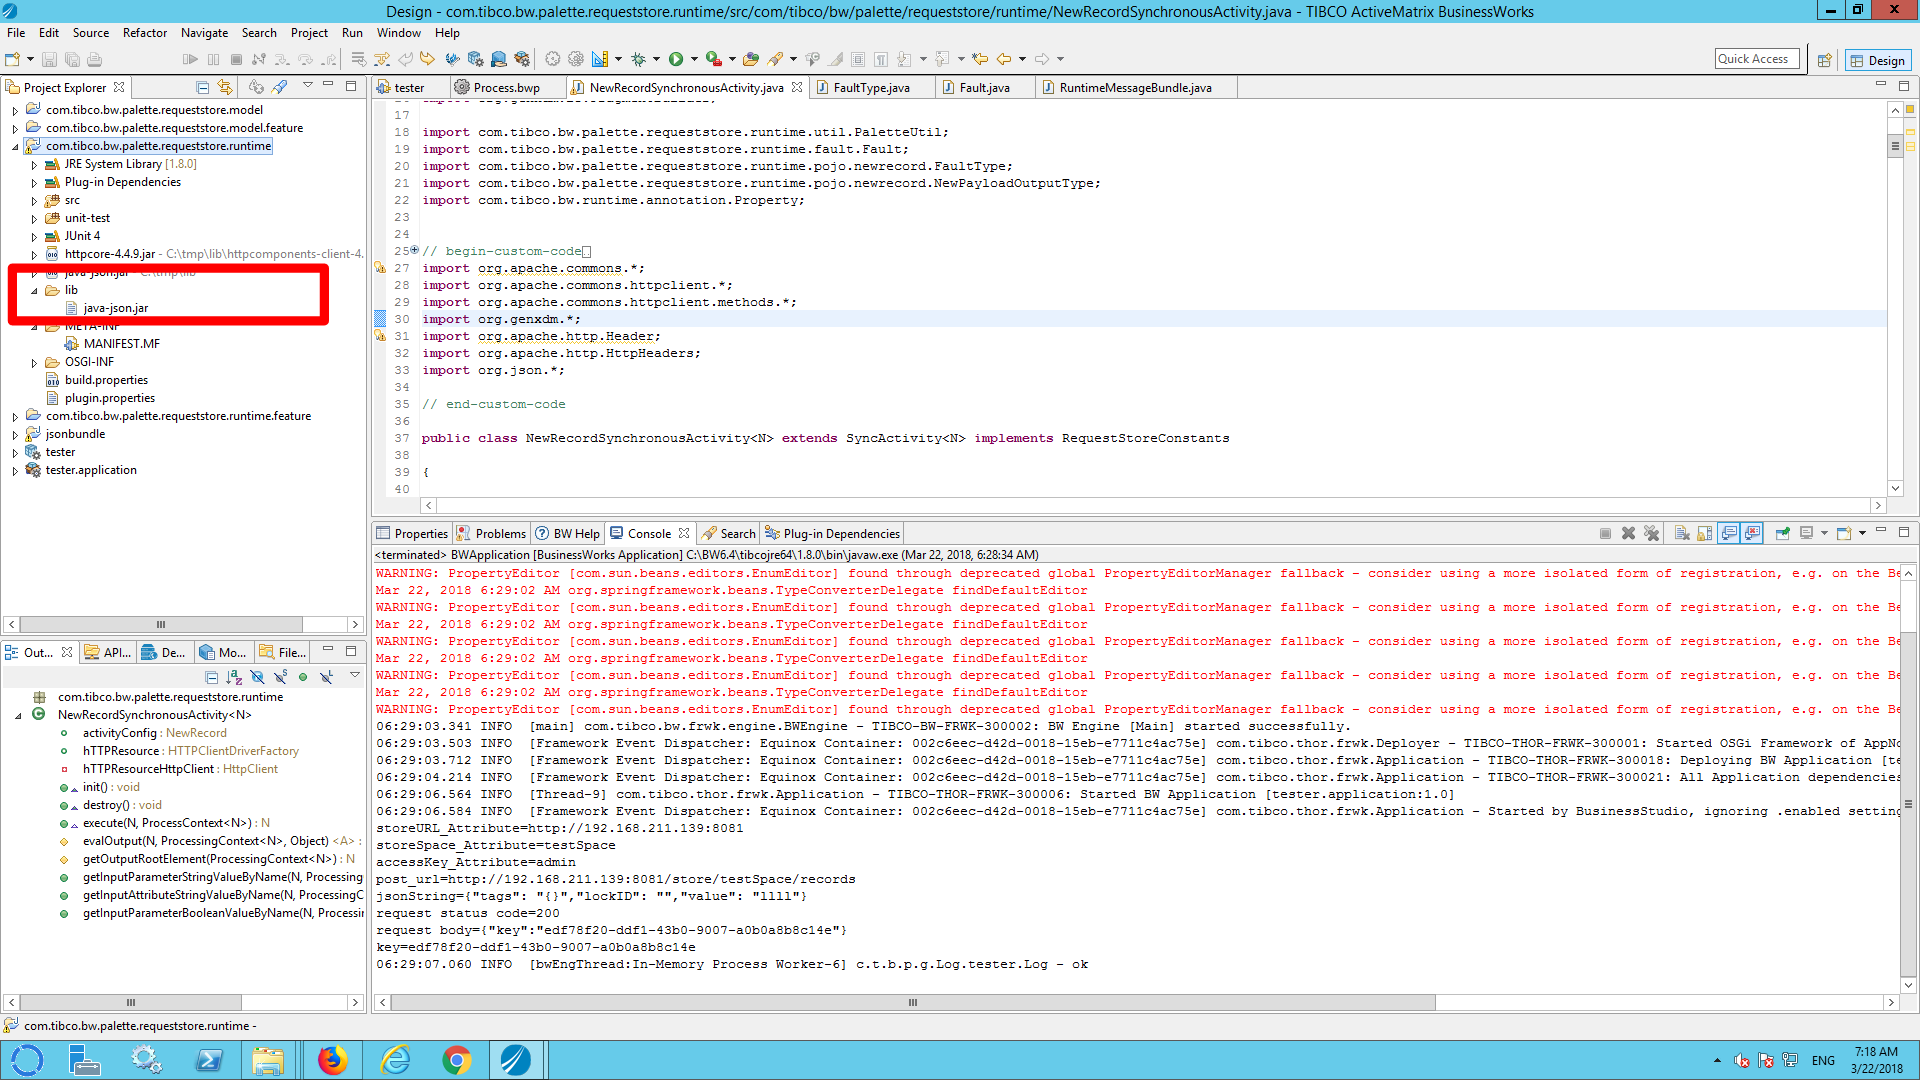
f) add the necessarily import to the code of classes in which you want to use the libraries. Make sure you do so in the section between ‘begin-custom-code’ and ‘end-custom-code’.
Step 3) Add the required jar to a lib folder of the runtime project.
a) Right click on the project <pacakge>.palette.<activity>.runtime and click New –> Folder
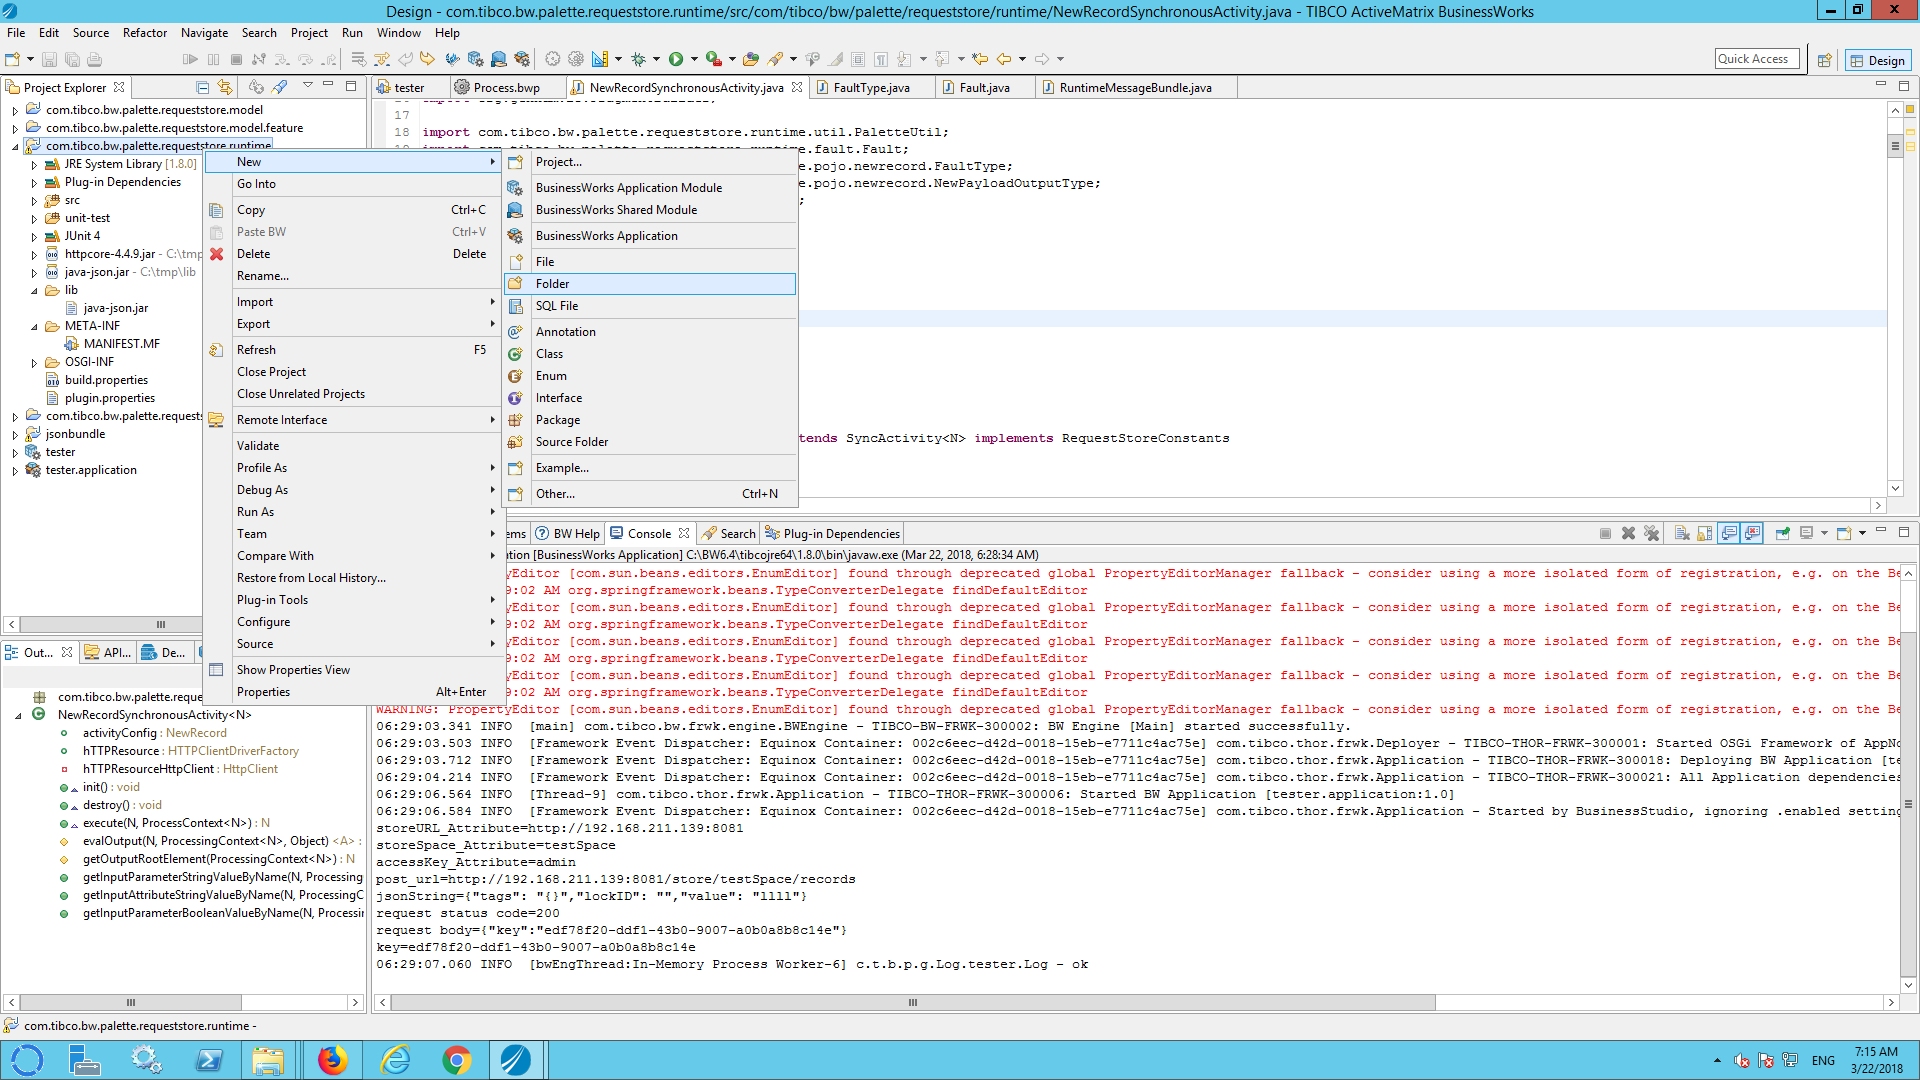
b) Create a folder lib

c) Drag the jar into the lib folder (choose copy)
Step 4) In Designer within the RUNTIME project create a bundle to wrap the jar
a) Click file –> new project
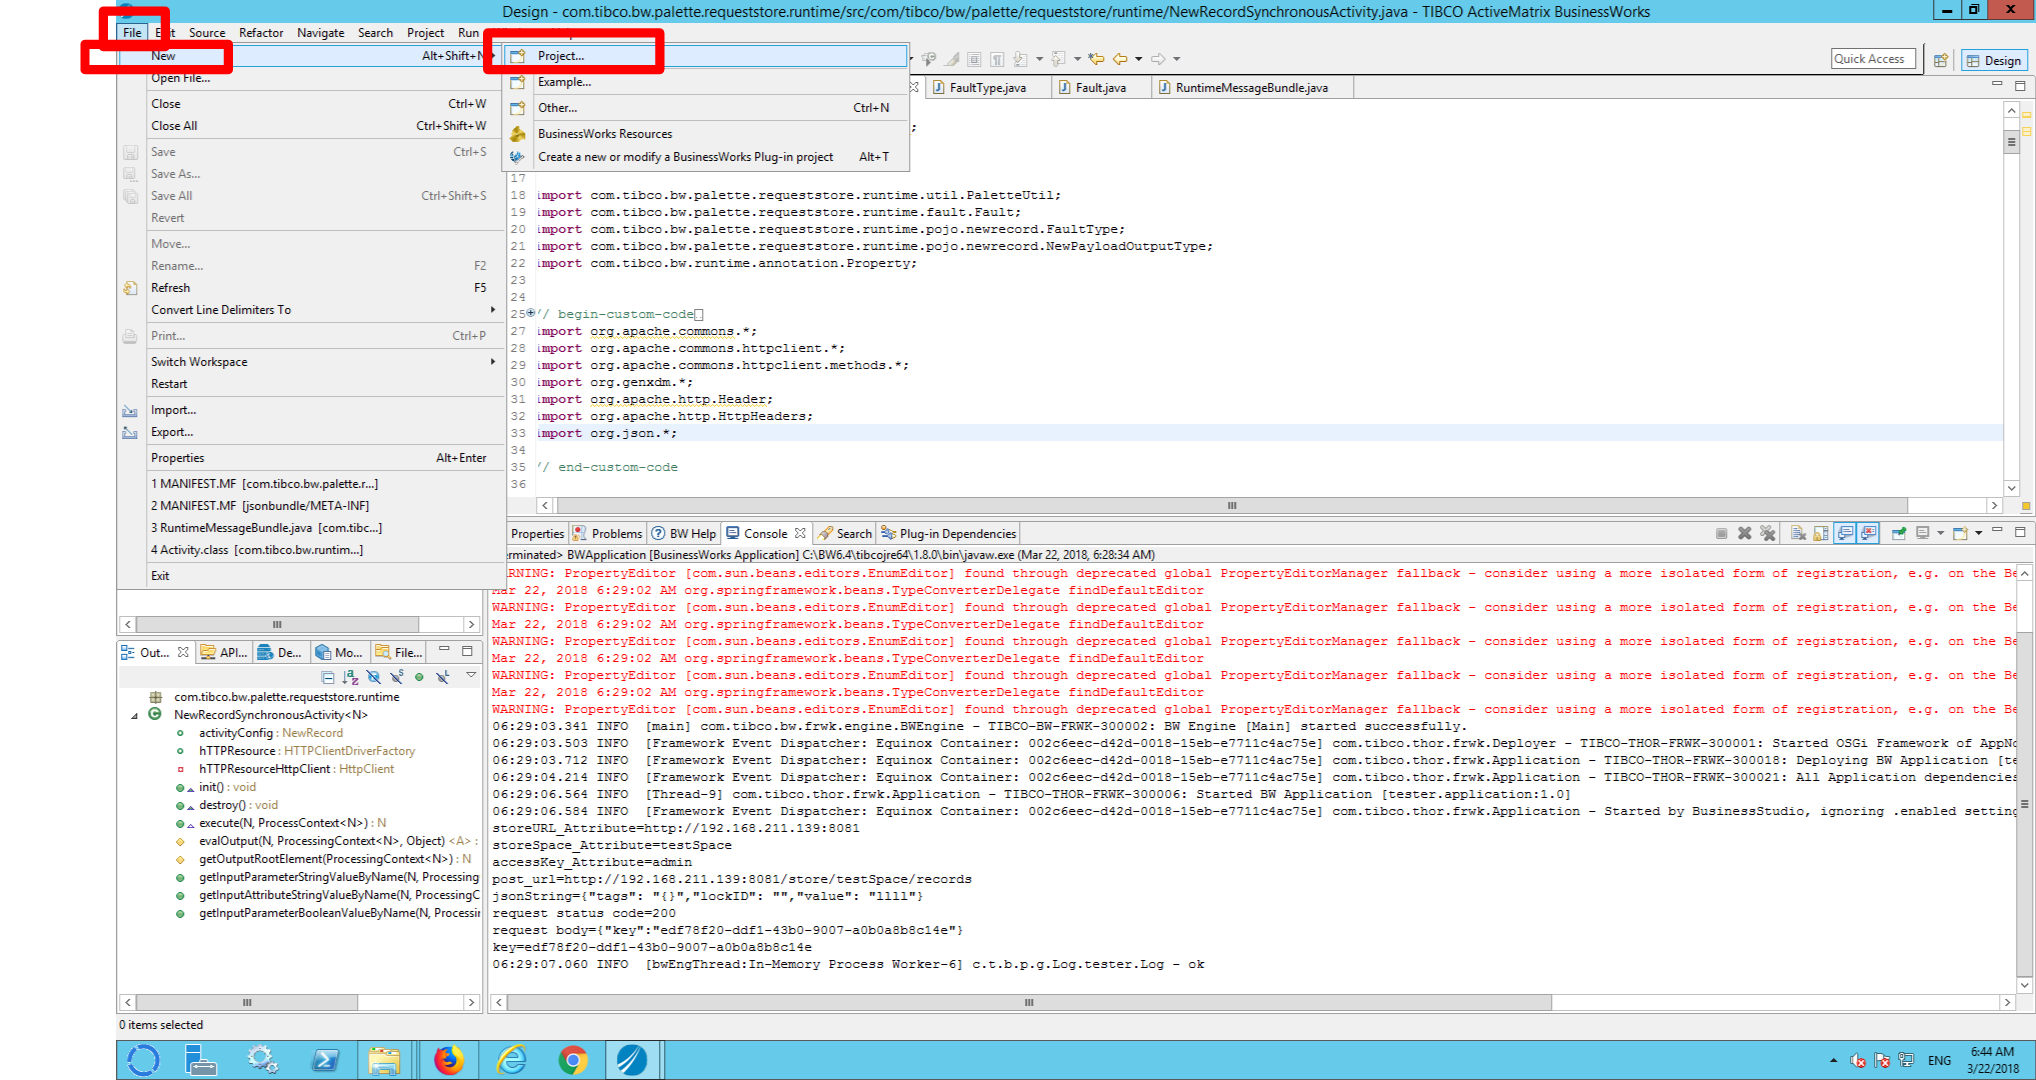
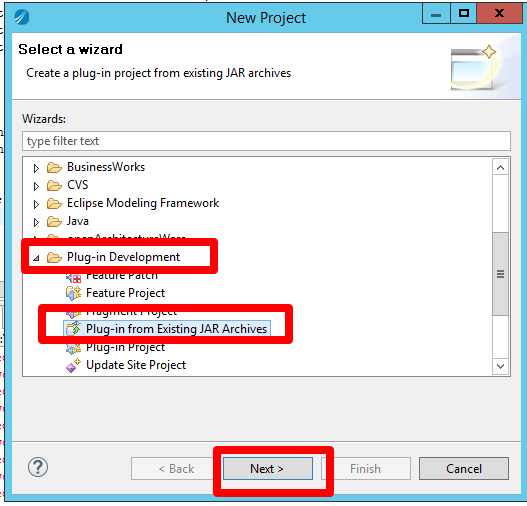
b) Click Plug-in Development –> Plug-in from Existing JAR Archives and click next
b) Click ‘Add’
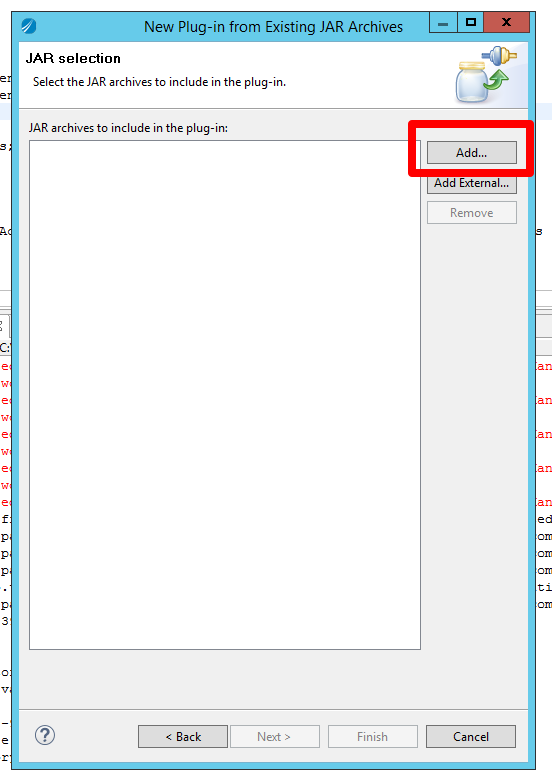
c) Select the jar from the lib directory that you want to add and click ok.
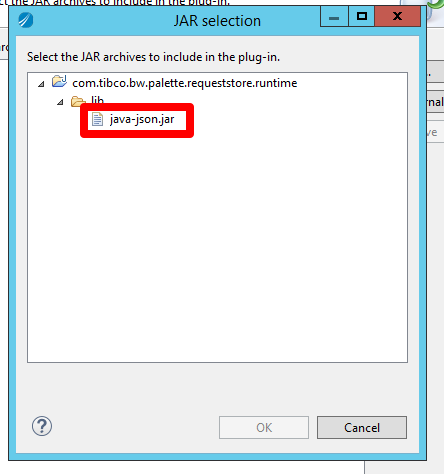
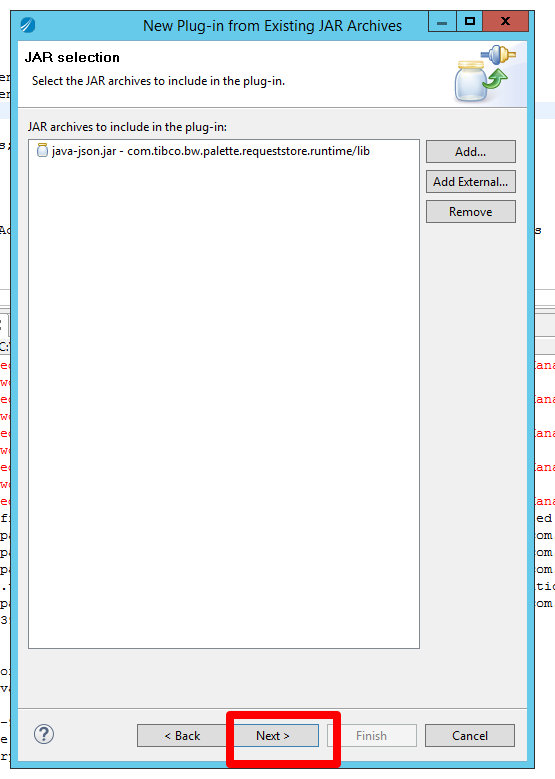
d) Click next
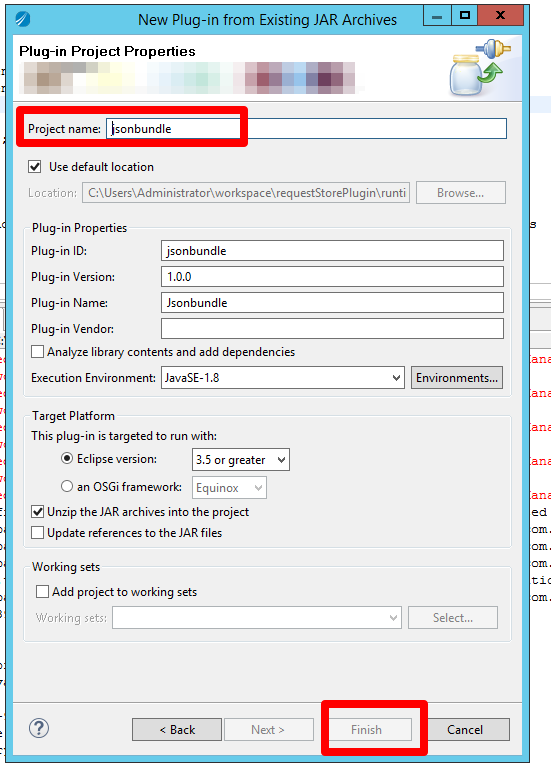
e) Give the project a unique name and click finish
Step 5) Add the bundle to the dependencies of the runtime environment
a) Open the project <pacakge>.palette.<activity>.runtime
b) Open META-INF
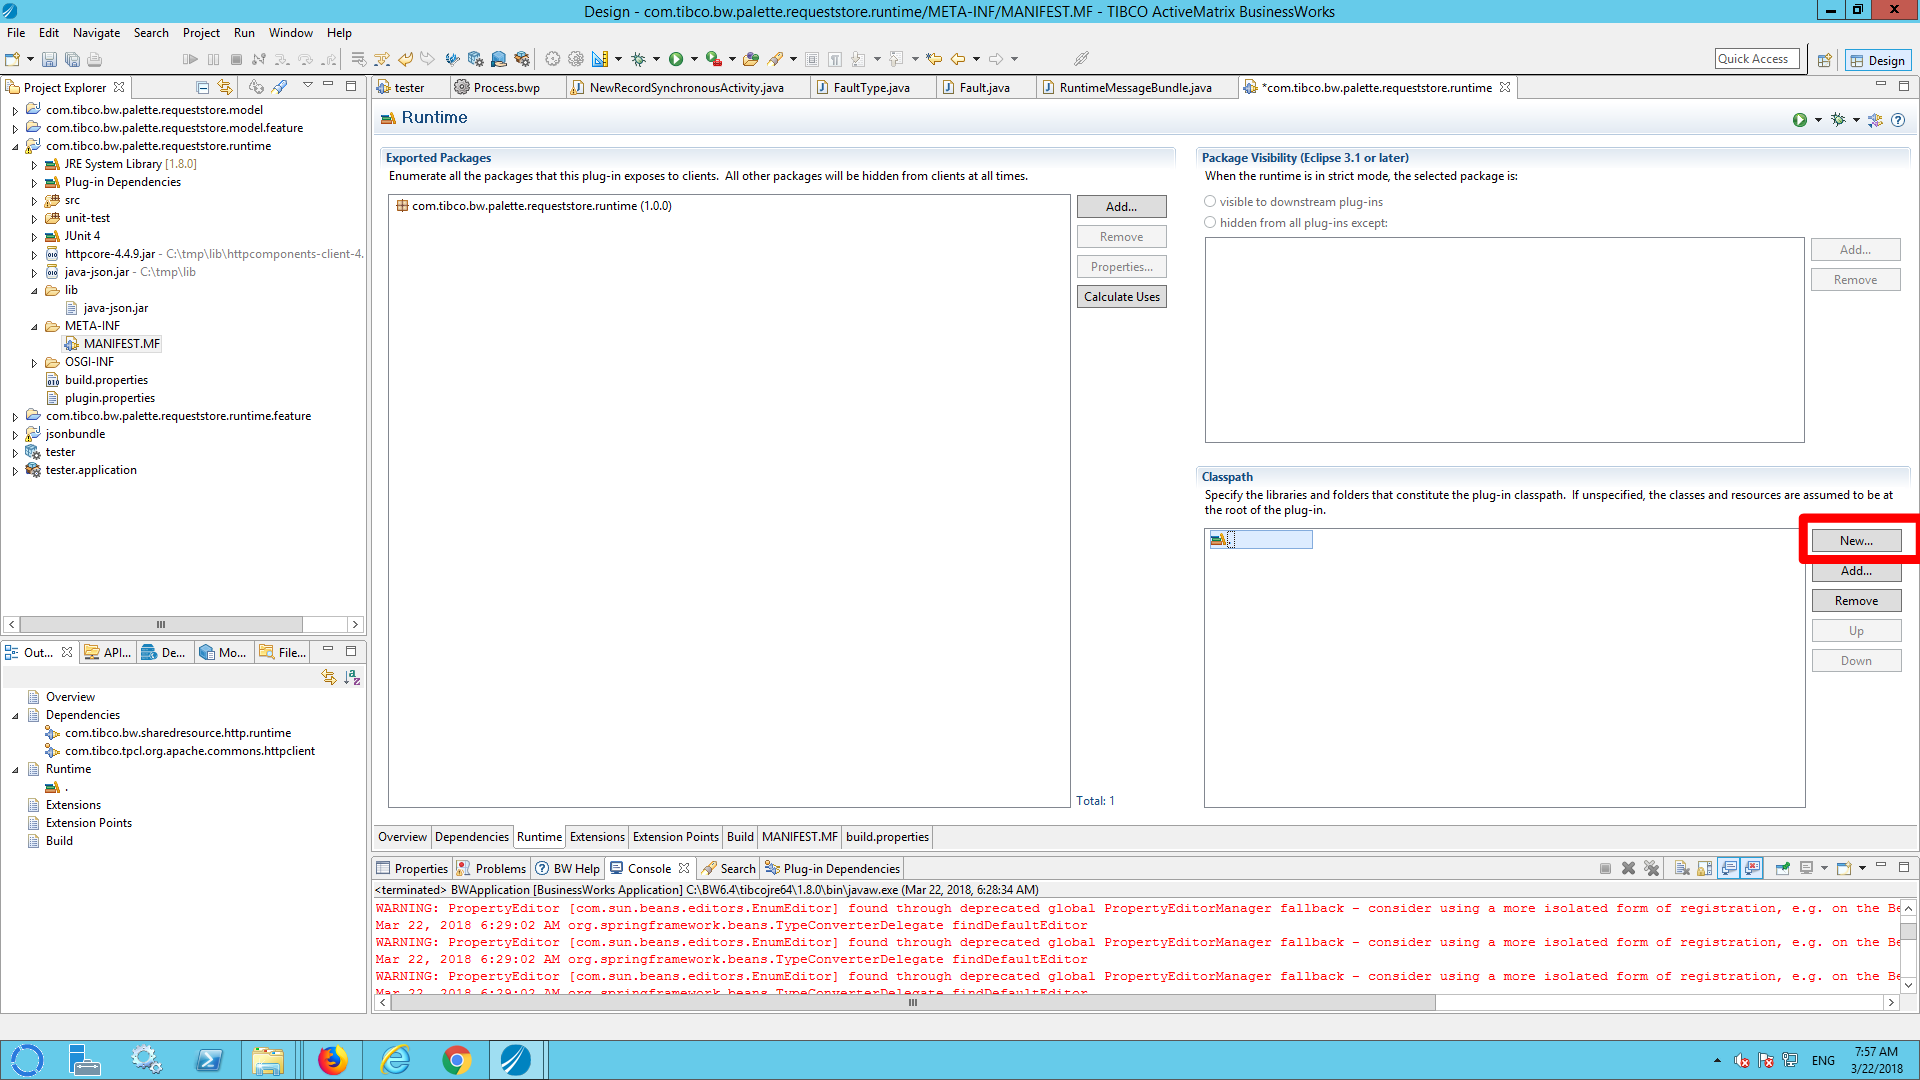
c) Double click MANIFEST.MF
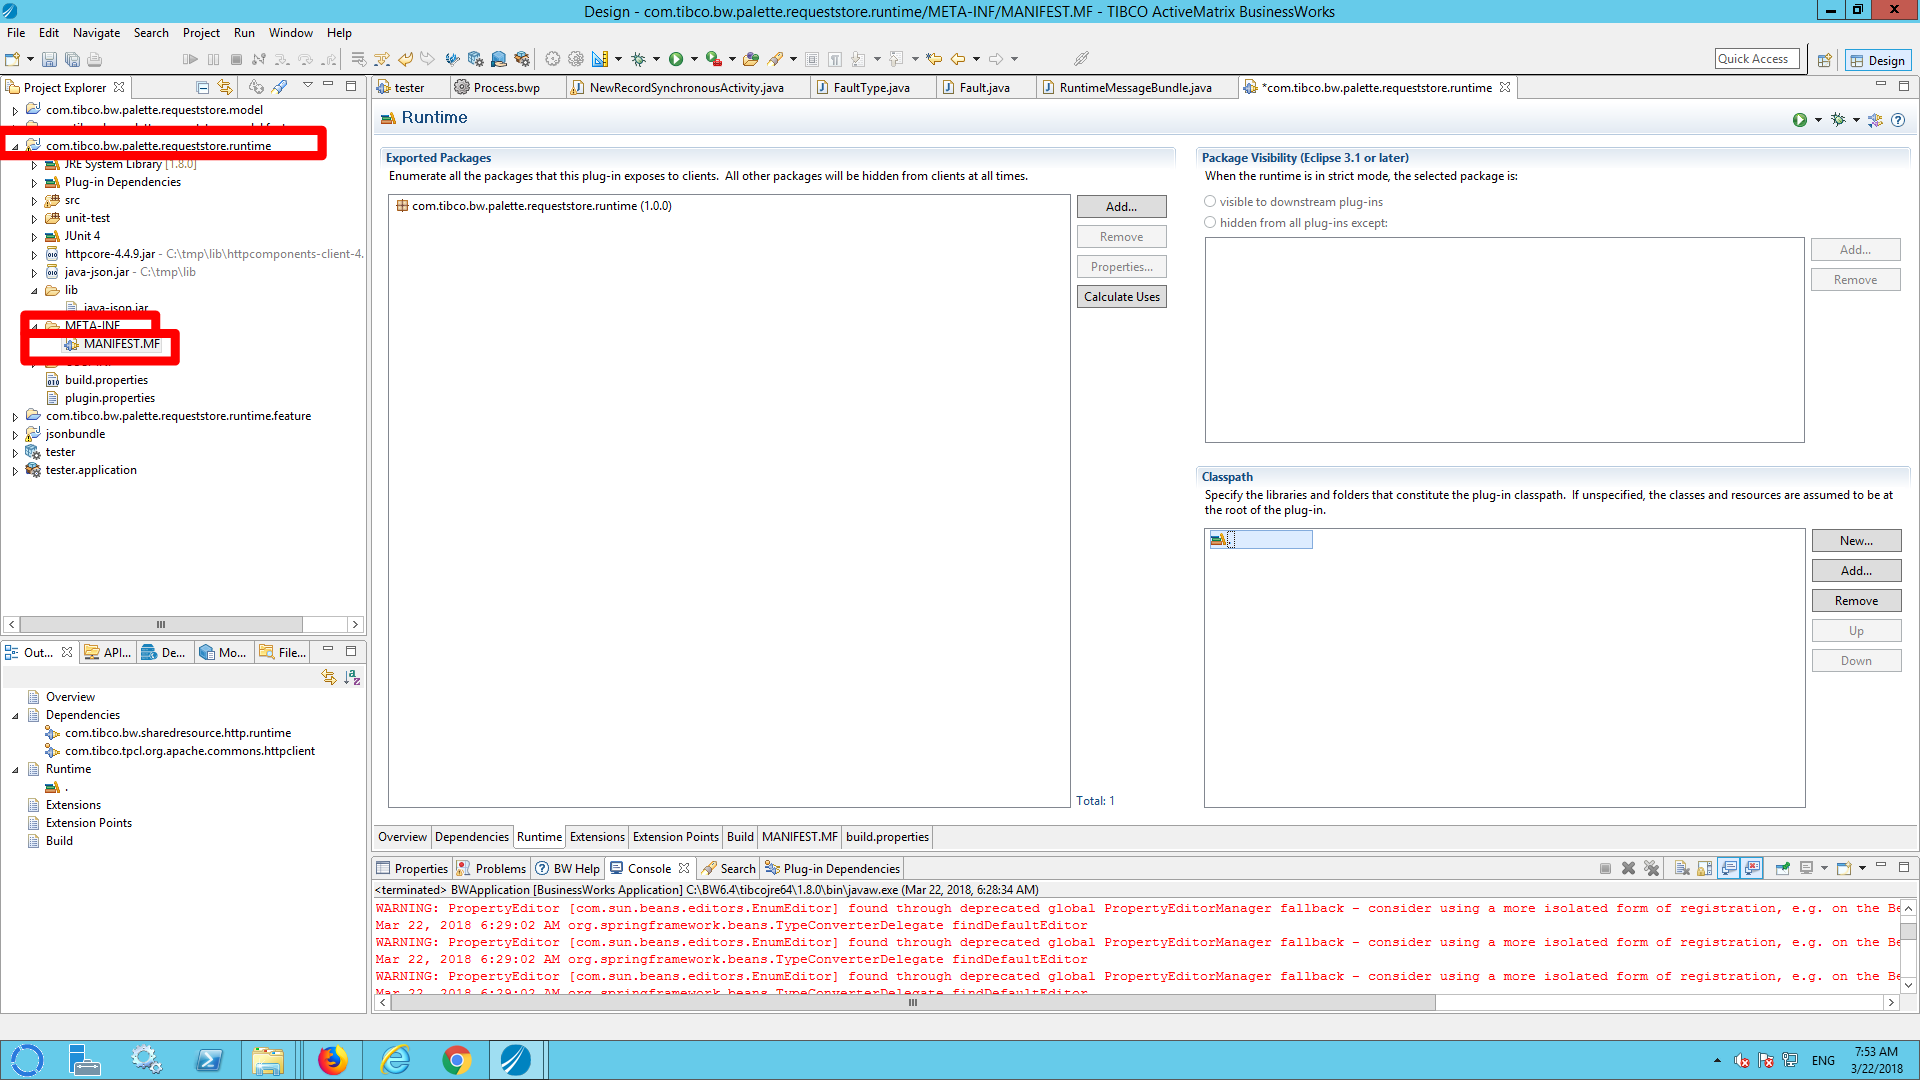
d) Click ‘new’ in the classpath section
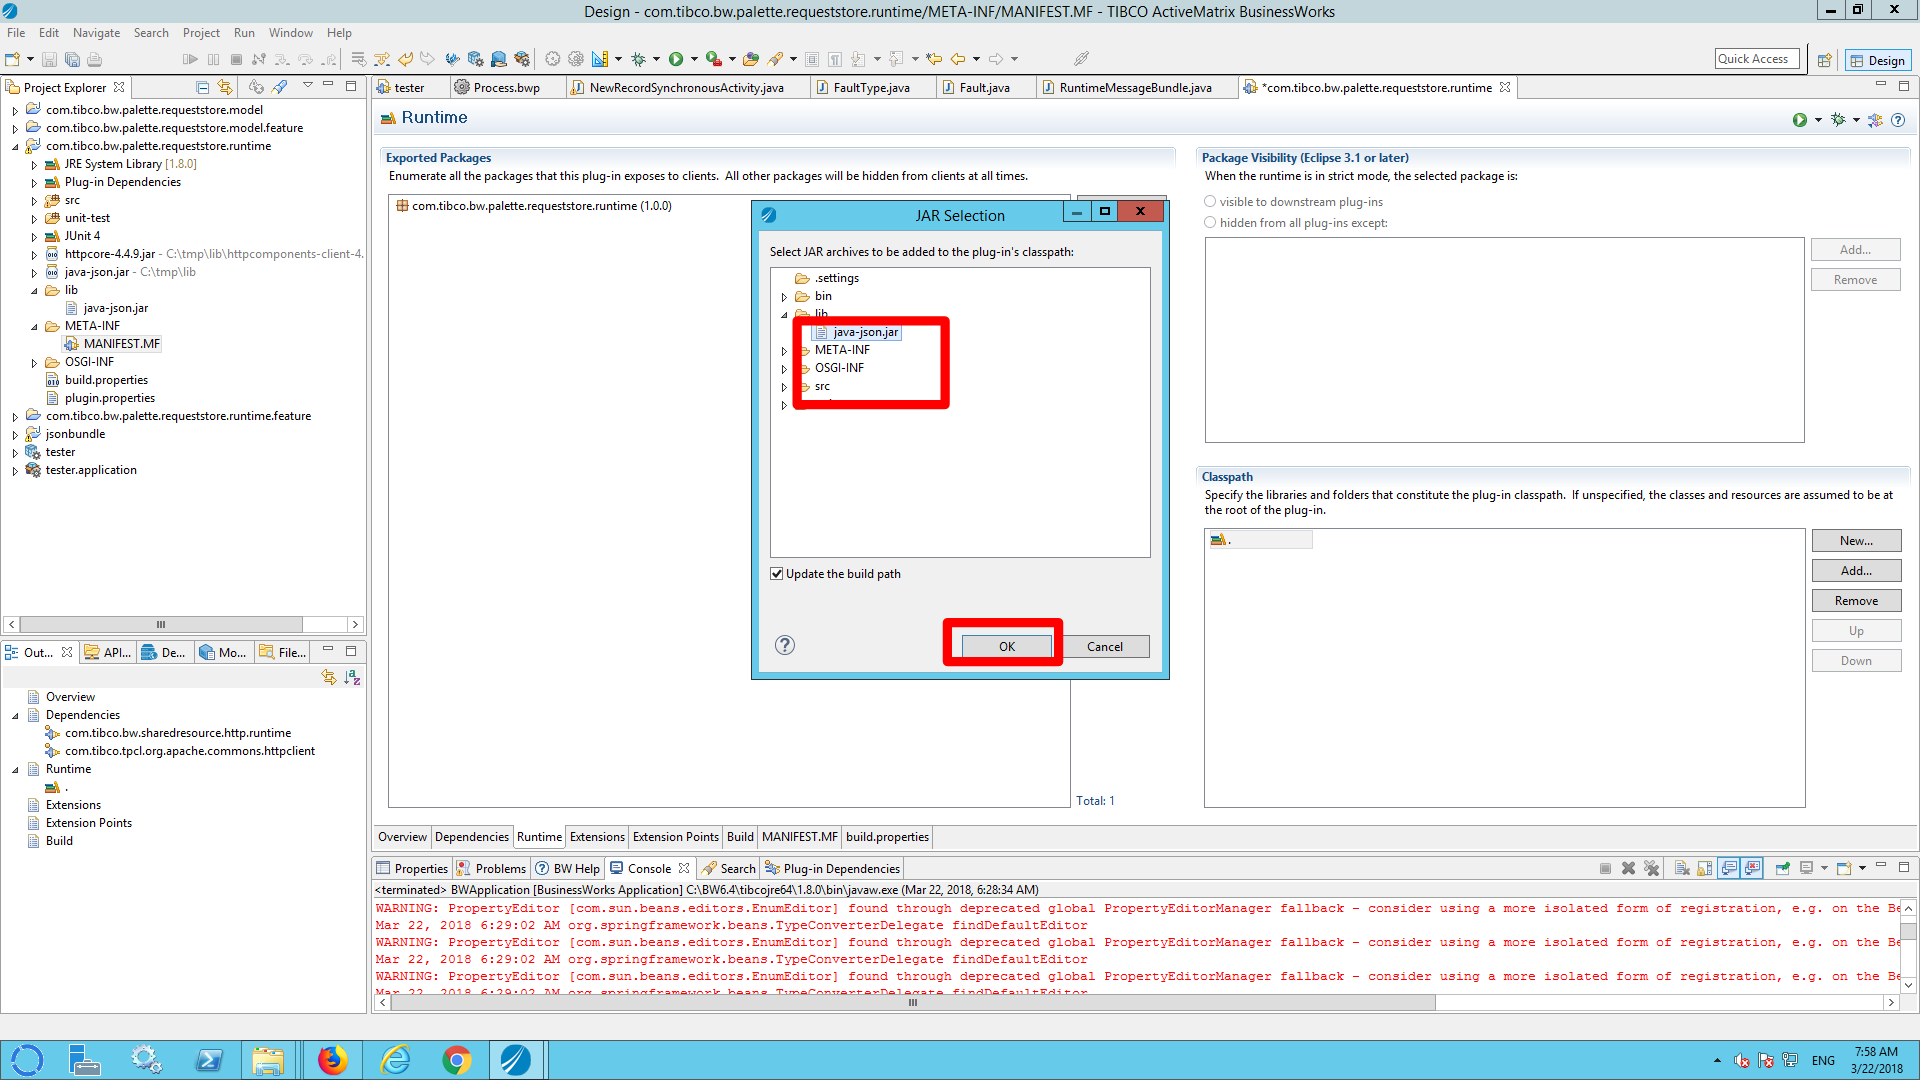
e) Select the library you added in step 3 and click ok.
f) Save the manifest file (file –> save).